Getting the Band Back Together: Part 3

frames

Episode Frames

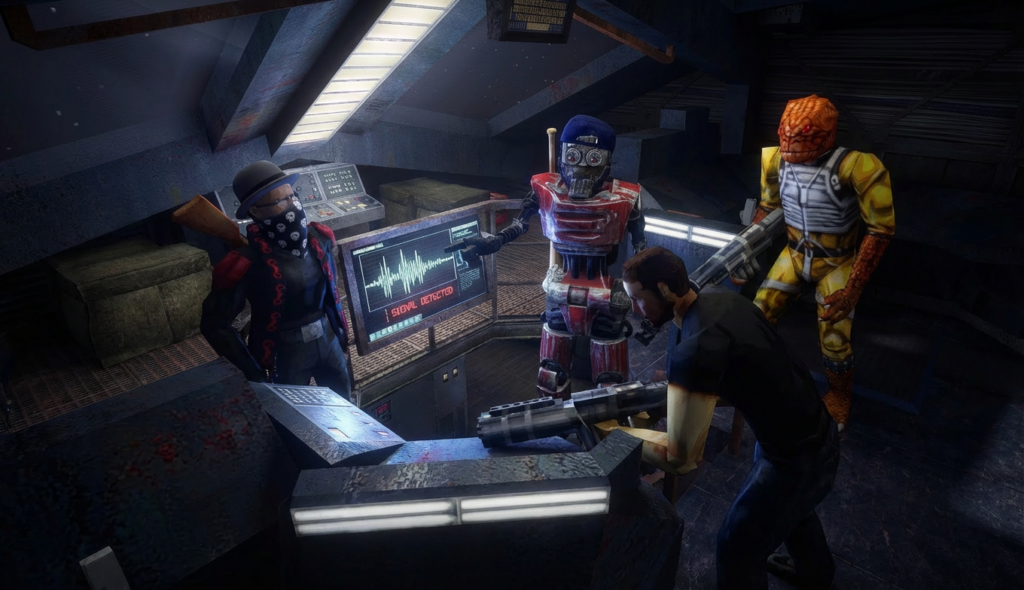
Scene 1 — Getting the Band Back Together: Part 3
Scene 1 · Serenity Bridge The crew detects Jezz's signal
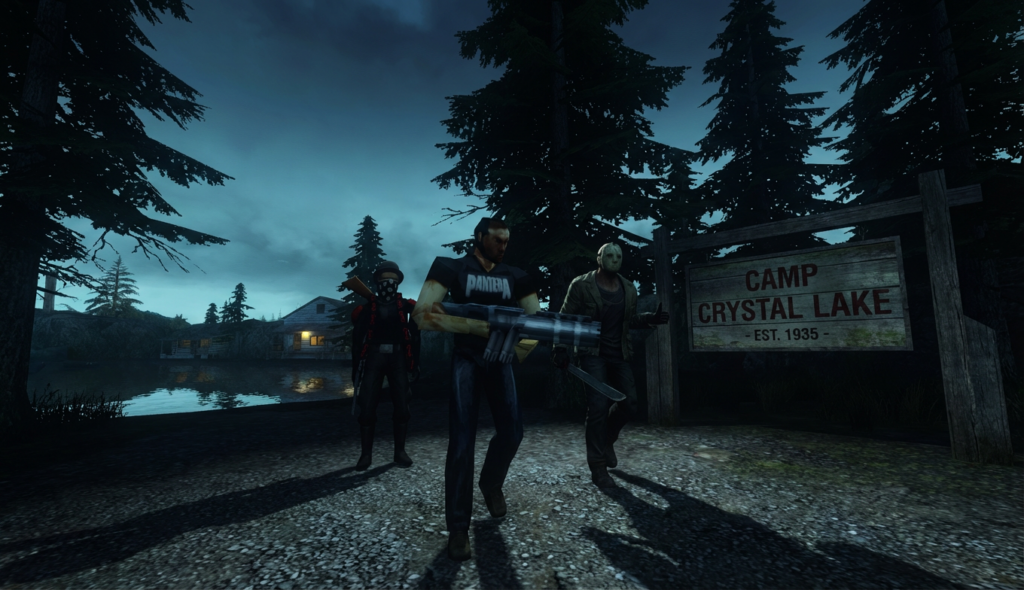
Scene 2 — Getting the Band Back Together: Part 3
Scene 2 · Camp Crystal Lake Entrance The crew arrives at camp
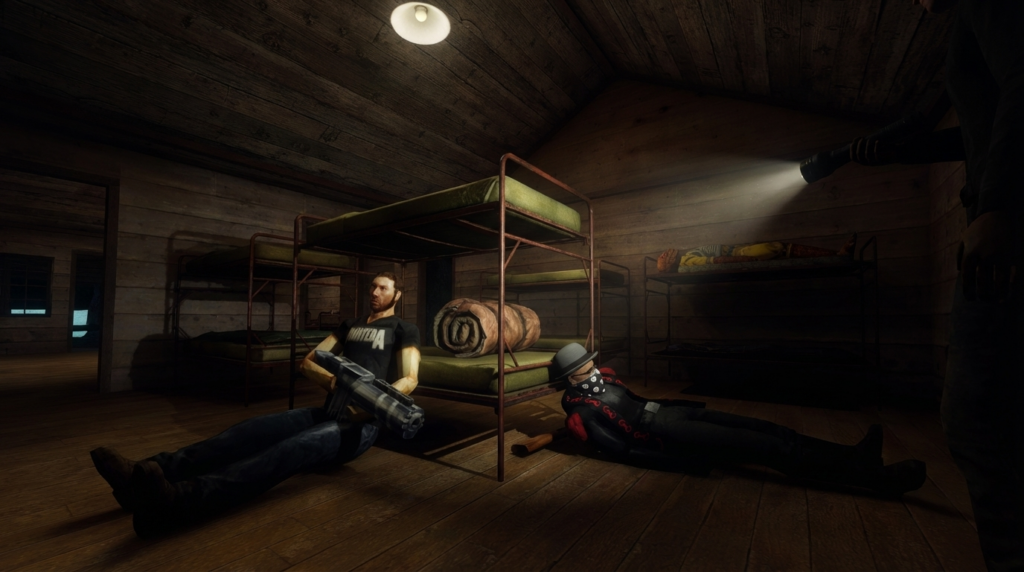
Scene 3 — Getting the Band Back Together: Part 3
Scene 3 · Camp Bunkhouse Discovering the victims
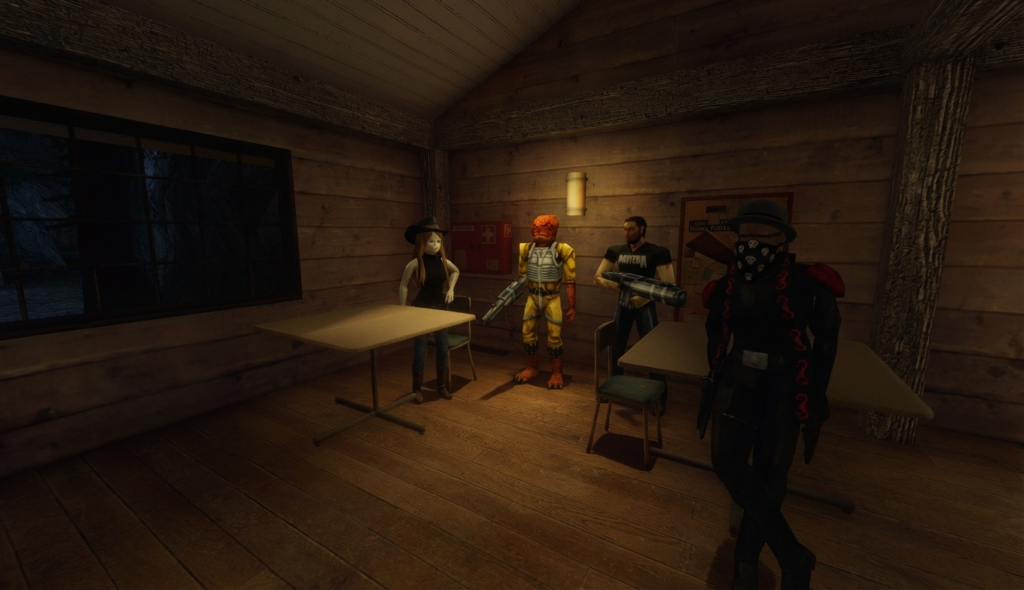
Scene 4 — Getting the Band Back Together: Part 3
Scene 4 · Camp Cafeteria Dining Area Finding Jezz
Scene 5 — Getting the Band Back Together: Part 3
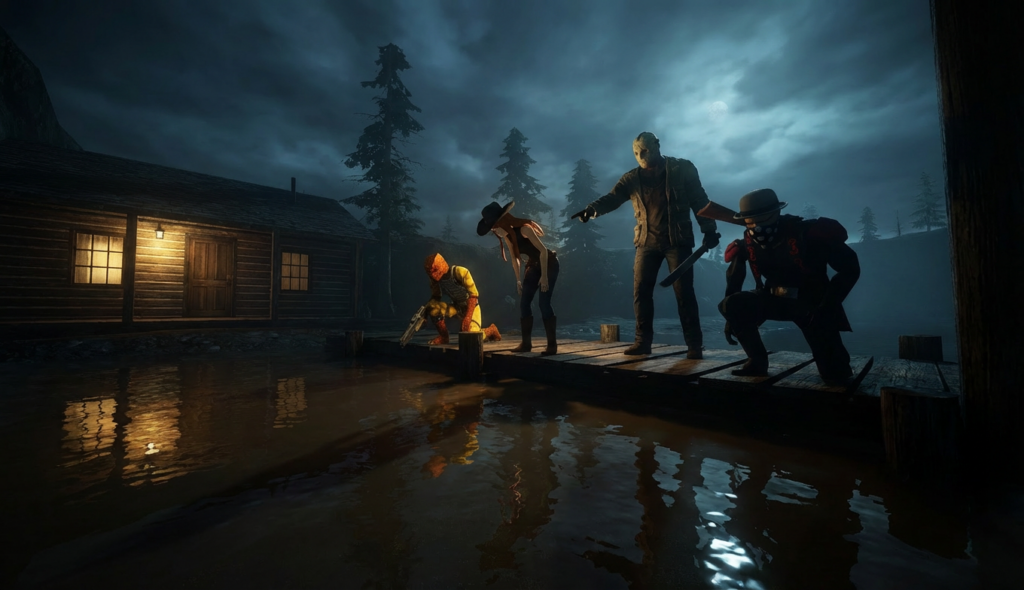
Scene 5 · Crystal Lake Dock Searching for the mask
Scene 6 — Getting the Band Back Together: Part 3
Scene 6 · Lake Rowboat Retrieving the mask
Scene 7 — Getting the Band Back Together: Part 3
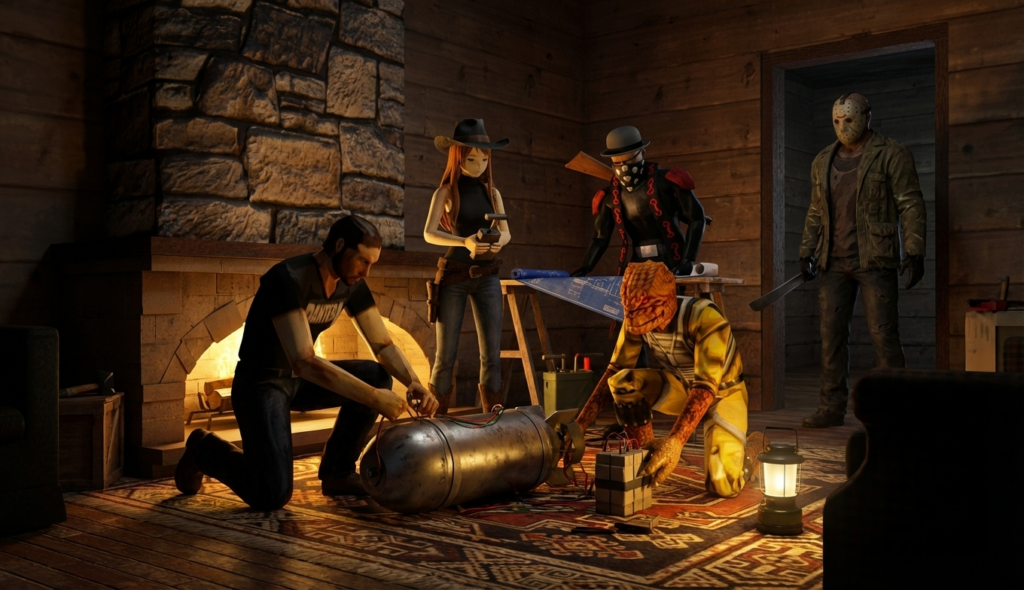
Scene 7 · Recreation Building Lounge Setting up the explosion
Scene 8 — Getting the Band Back Together: Part 3
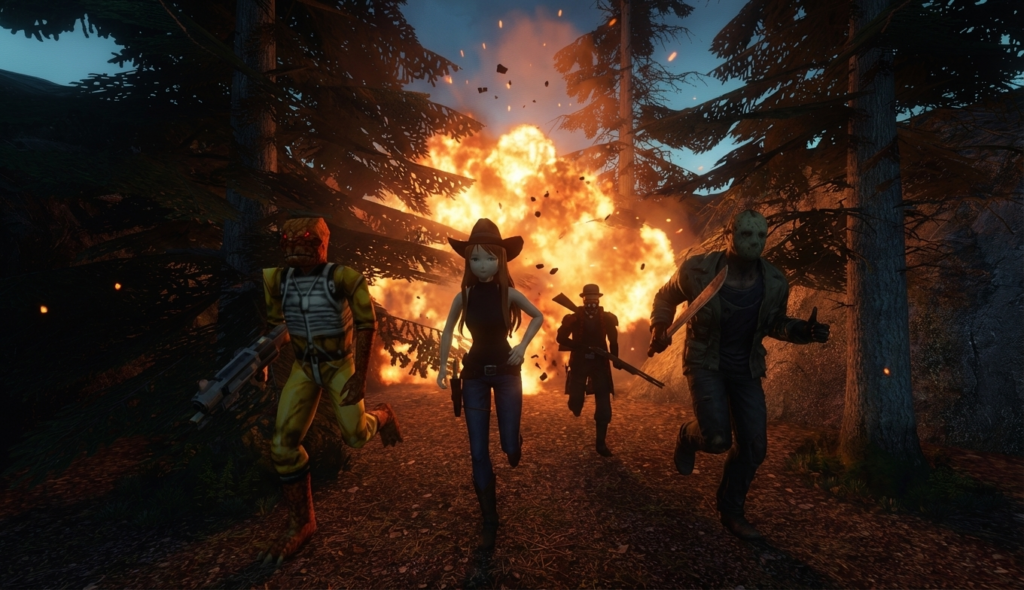
Scene 8 · Forest Trail Escaping the explosion