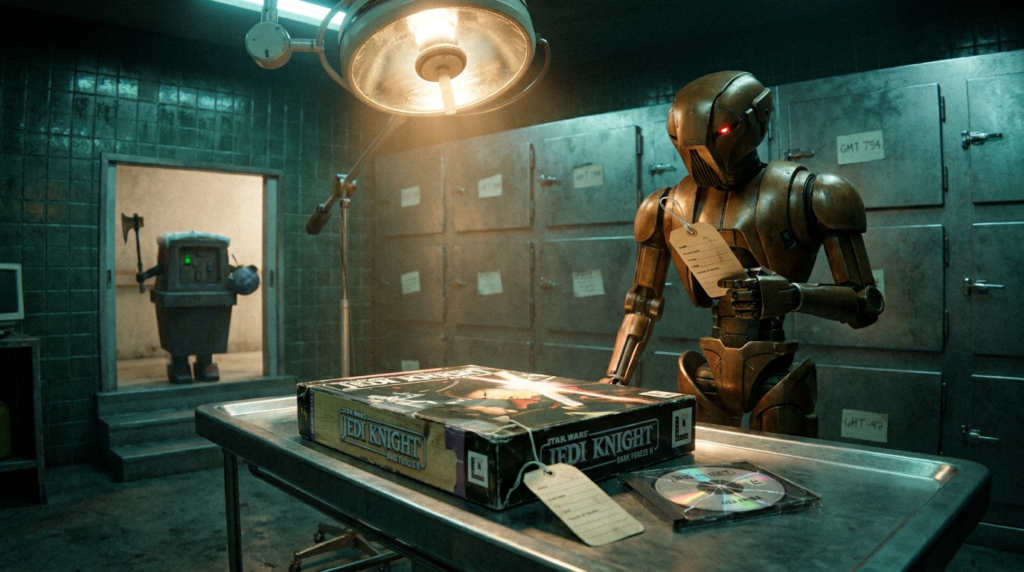
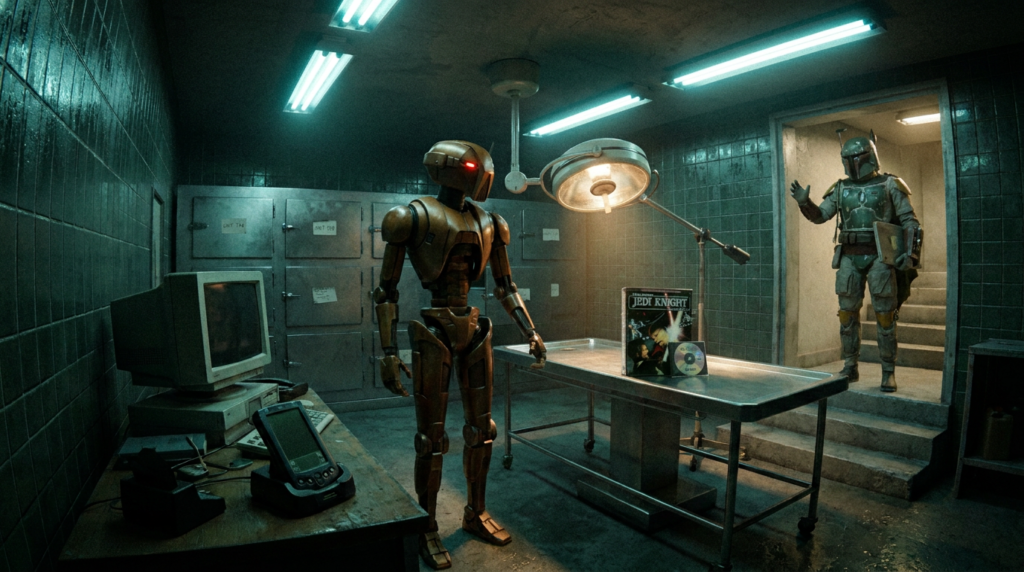
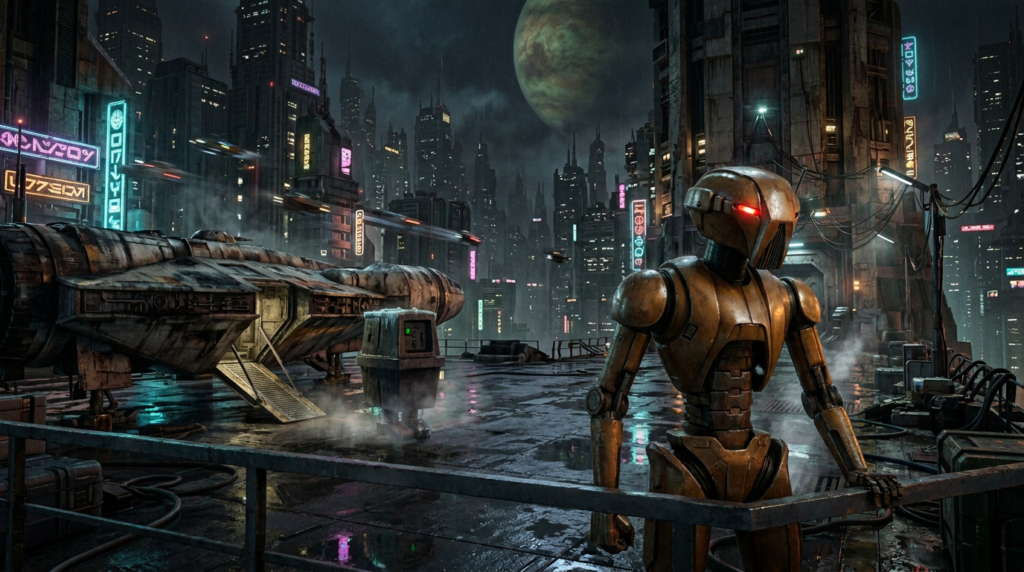
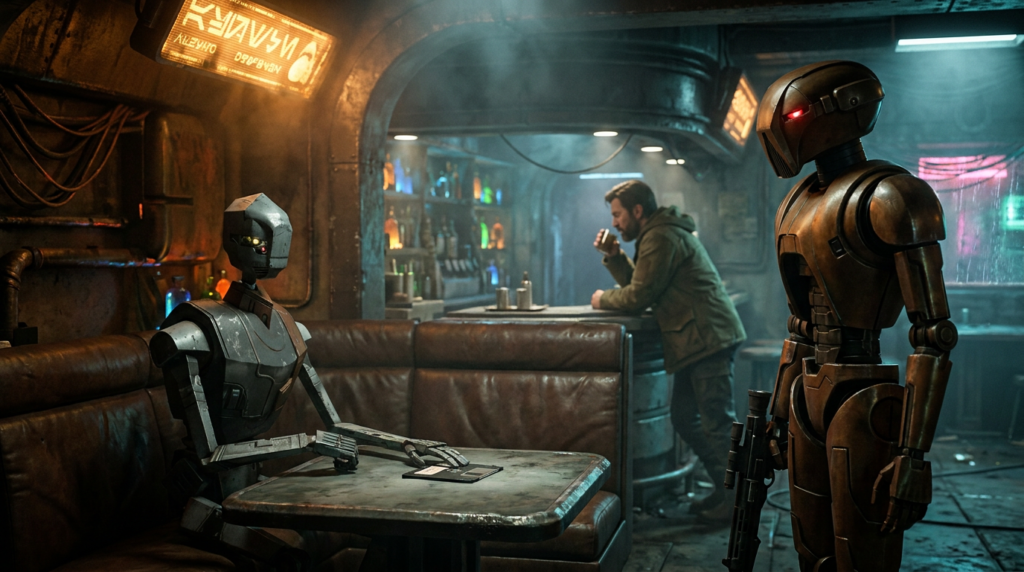
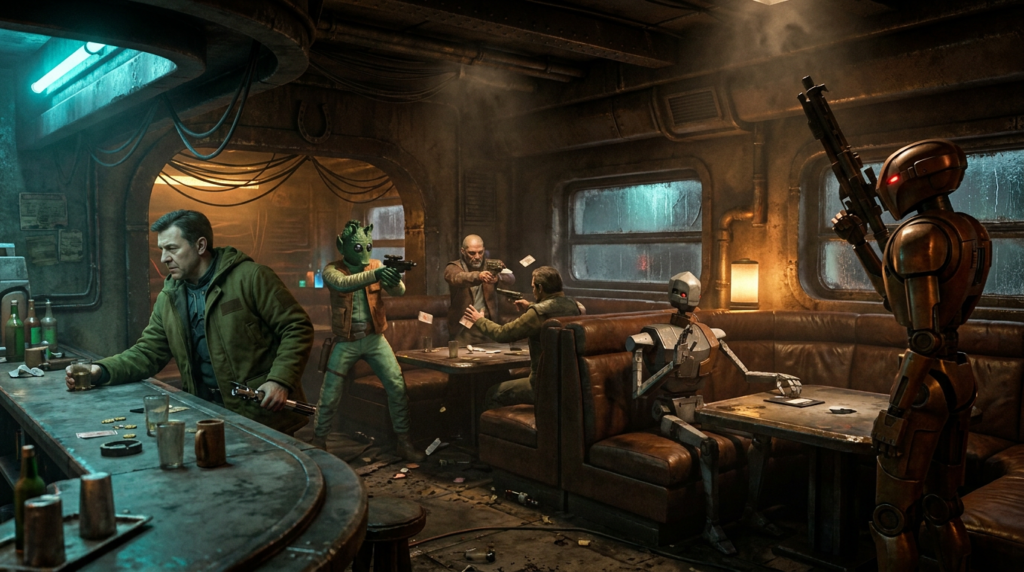
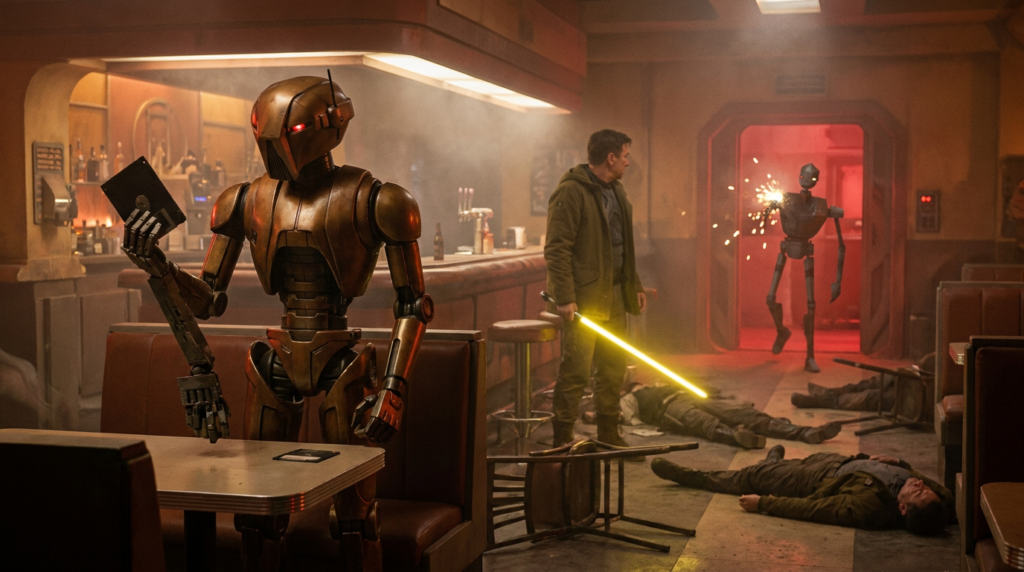
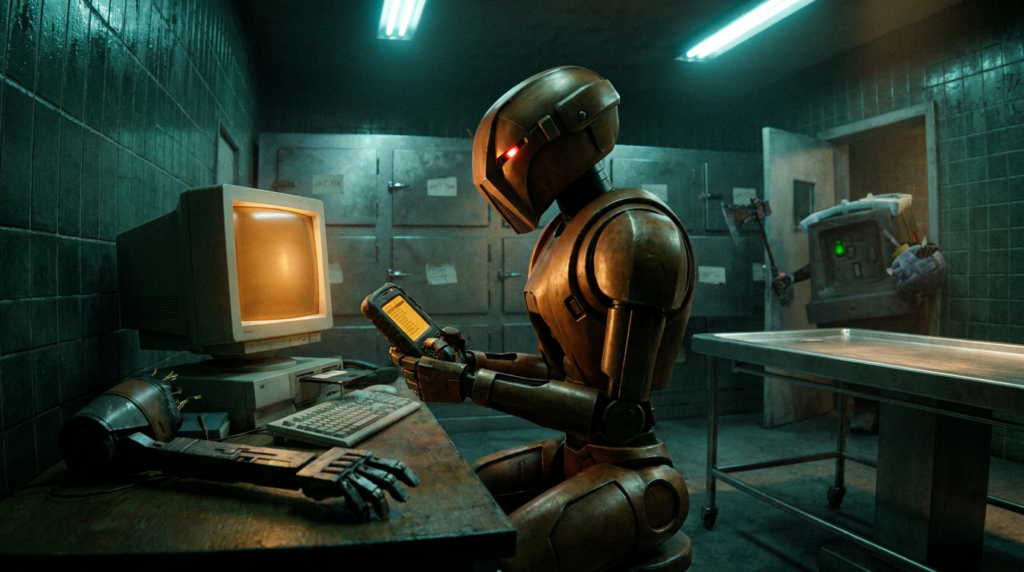
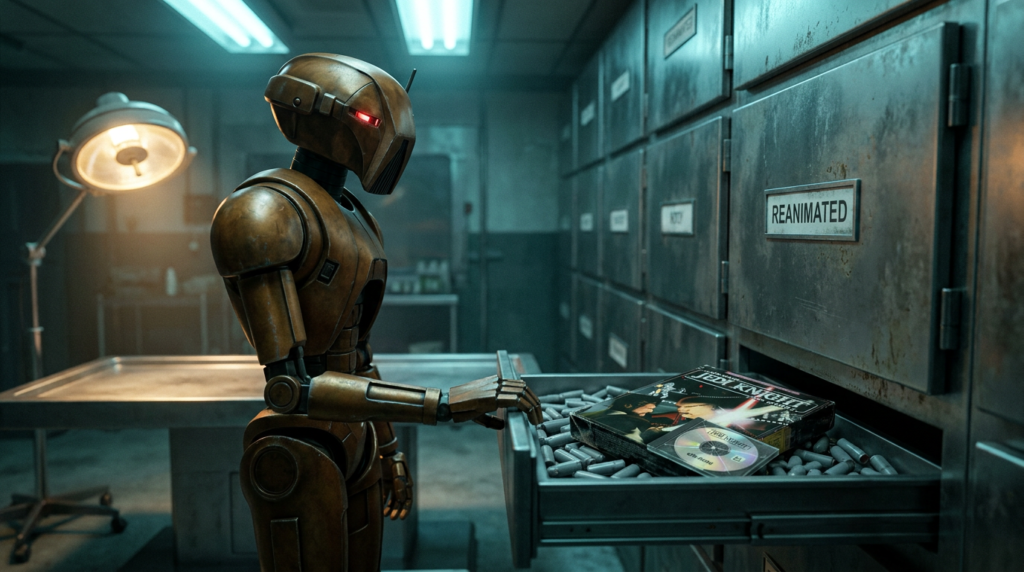
Scene 1 · The MorgueCold open. The Jedi Knight big box (jk-big-box) lies on the autopsy tray under the lamp with a toe tag (toe-tag) on its corner. HK-47 reads the tag. GONK waits in the doorway.Scene 2 · The MorgueThe lead. Strike stands in the doorway in his battered Mandalorian armor; one of the project's own accomplices. HK-47 at the tray with the big box (jk-big-box).Scene 3 · Nar Shaddaa Landing PlatformArrival. Night rain on a landing platform on Nar Shaddaa, the Smuggler's Moon. HK-47 at the platform rail looking down into the vertical city; GONK at the foot of the freighter's r…Scene 4 · Nar Shaddaa CantinaThe contact. 8t88 sits in the shadowed corner booth with a data disk (data-disk) on the table under his hand. HK-47 stands at the end of the table. Kyle Katarn leans at the bar beh…Scene 5 · Nar Shaddaa CantinaThe double-cross. Gunmen rise from the card tables with blasters drawn on 8t88's signal. HK-47 stands calm at the booth table. Kyle Katarn sets down his glass at the bar, a lightsa…Scene 6 · Nar Shaddaa CantinaAcquisition. The gunmen lie still among overturned chairs. 8t88 flees through the red-lit back exit, one arm short. Kyle Katarn stands with his yellow lightsaber lowered. HK-47 hol…Scene 7 · The MorgueThe catalogue. HK-47 at the CRT bench with the PDA (pda) in hand and the data disk (data-disk) in the drive; 8t88's severed arm (droid-arm) lies on the bench, its fingers pried ope…Scene 8 · The MorgueSign-off. HK-47 slides the Jedi Knight big box (jk-big-box) into the body drawer labelled REANIMATED, alongside the cartridges already there, and closes it.