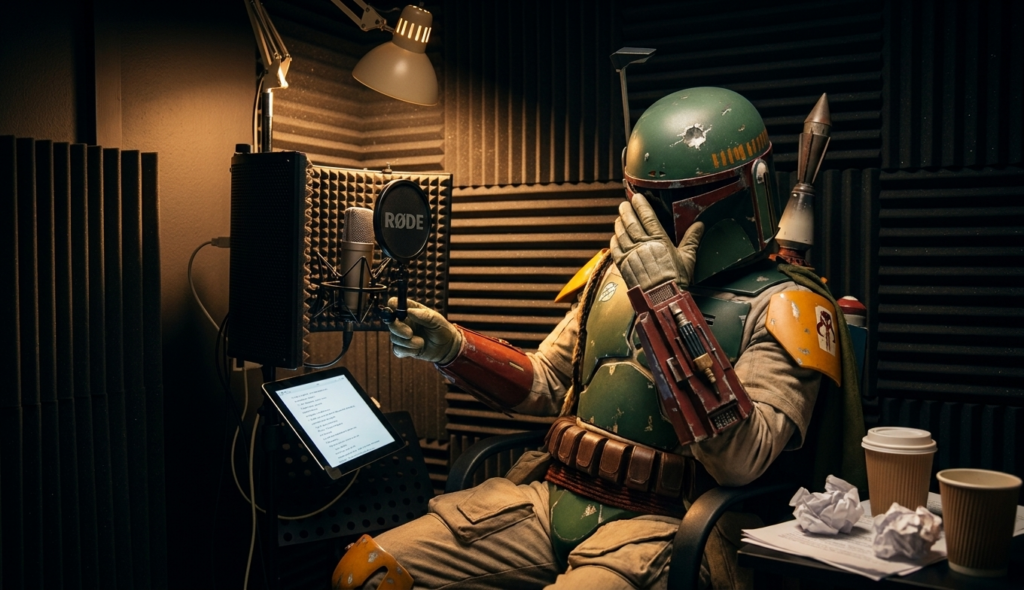
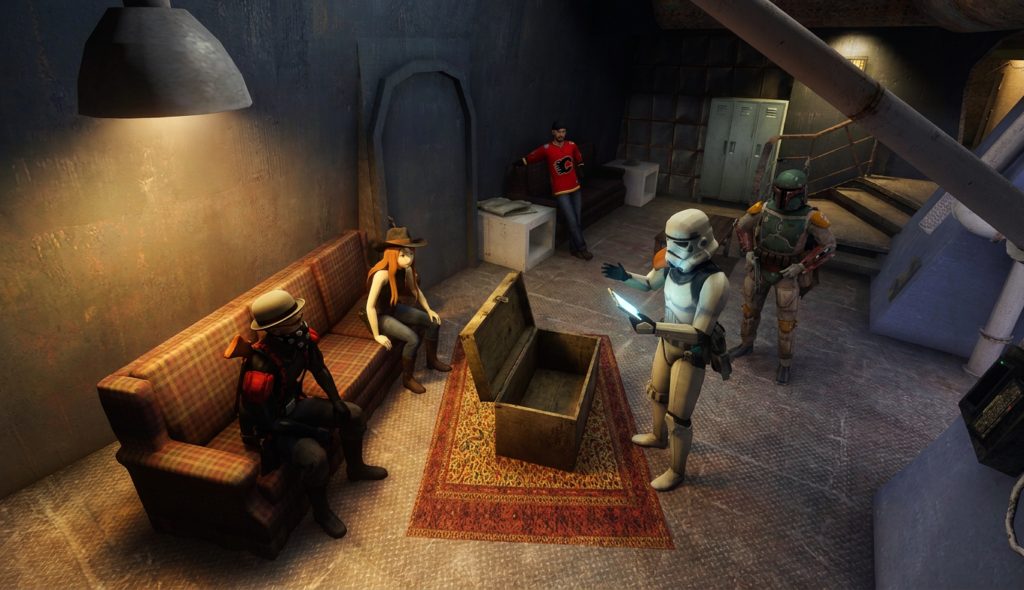
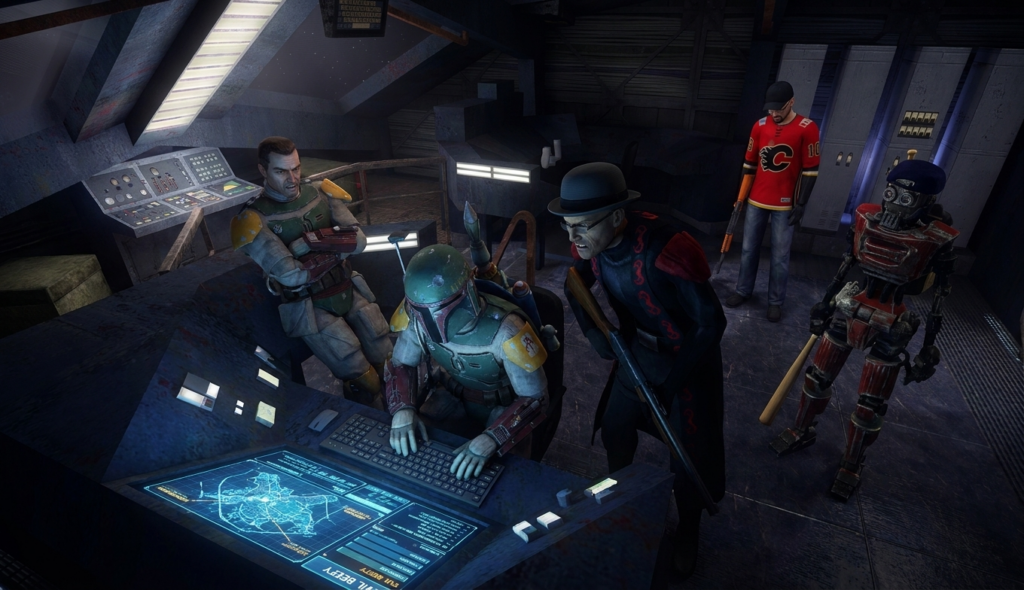
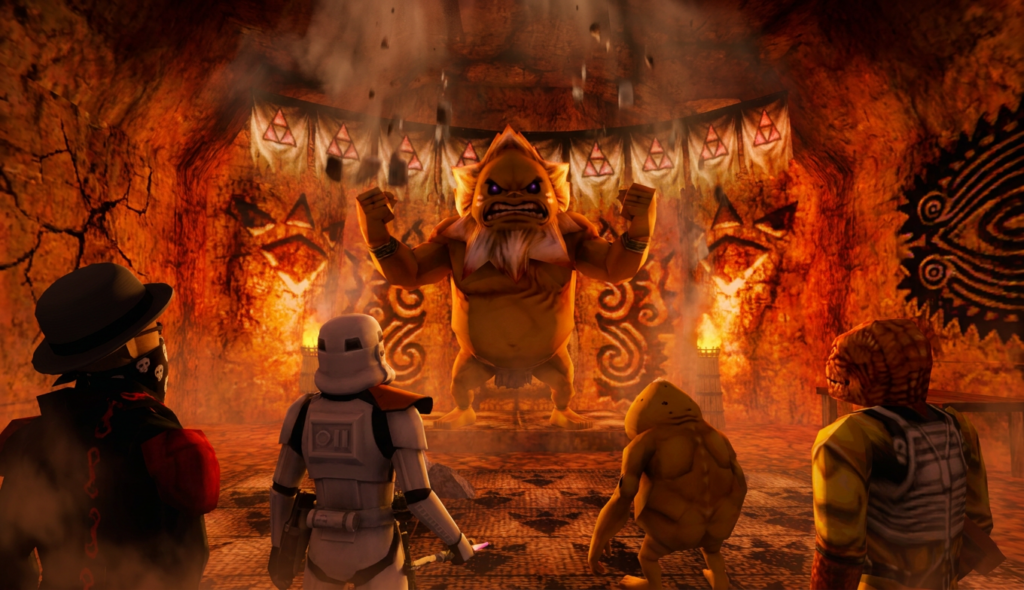
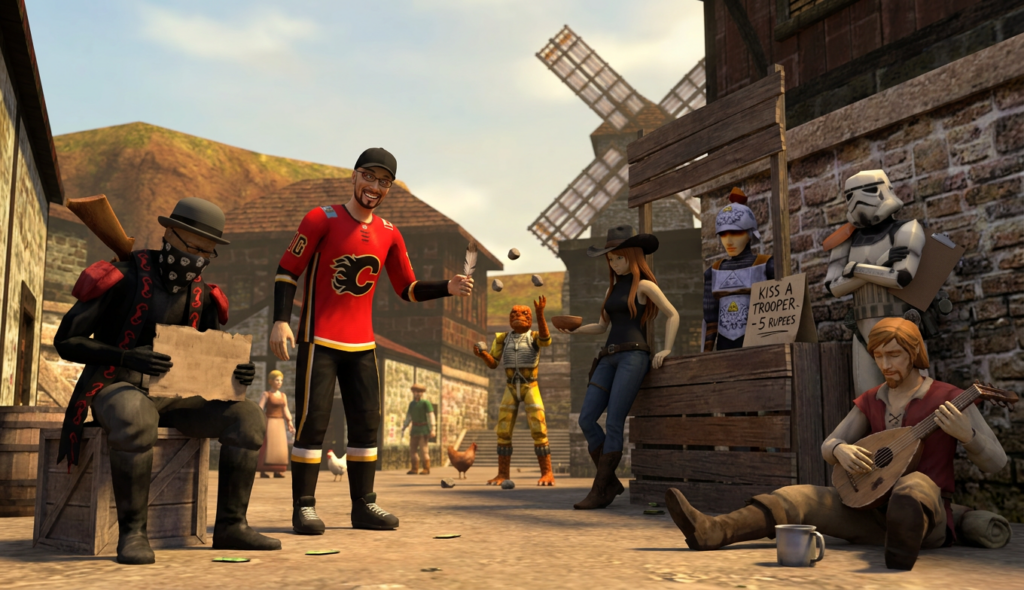
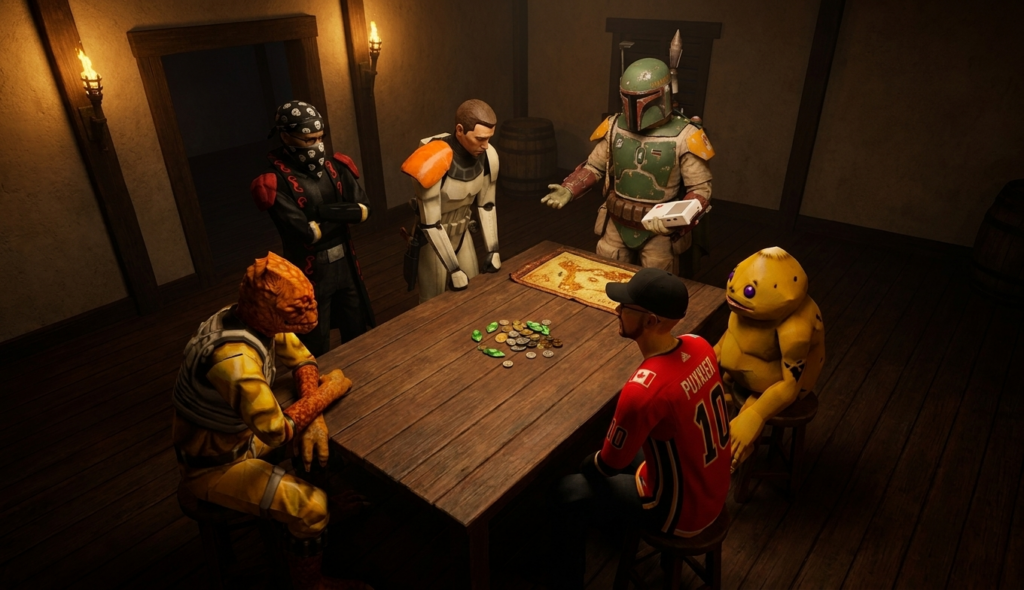
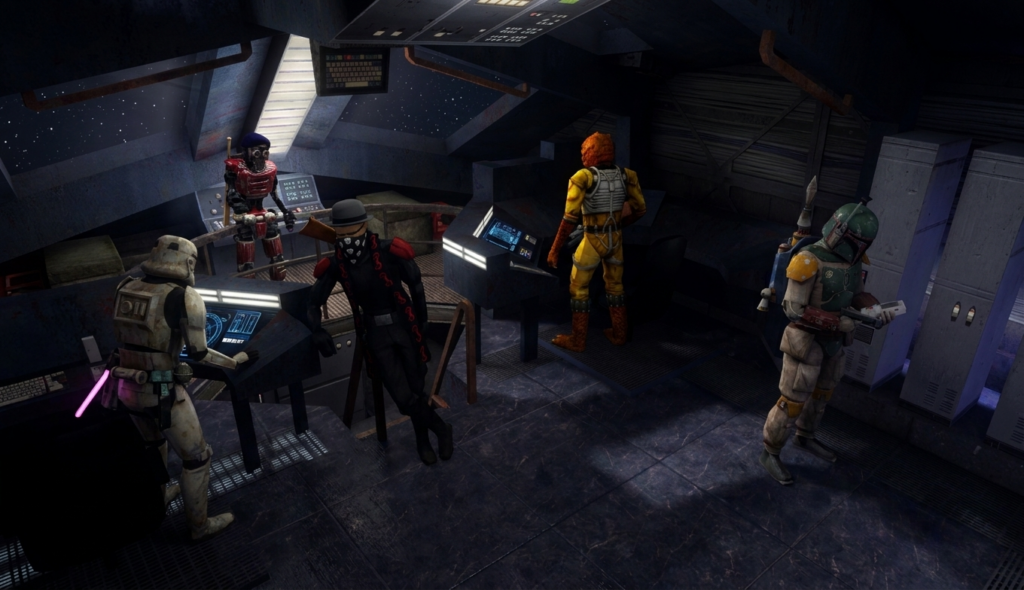
Scene 1 · Behind-the-scenes DVD IntroStrike gives the behind-the-scenes intro, exhausted and furious.Scene 2 · Serenity Common AreaNick makes the catastrophic discovery while cataloging the Hammer sale and brings the terrible news to the crew.Scene 3 · Serenity BridgeThe crew tries to buy back the Hammer but discovers it's been flipped to auction and the price has tripled. Then Strike traces it to Evil Beefy.Scene 4 · Hyrule Goron City Throne RoomThe crew returns to Hyrule to confess to Darunia. The mountain is already shaking. Darunia's reaction is volcanic.Scene 5 · Hyrule Kakariko VillageThe crew desperately brainstorms ways to raise seventy-five thousand credits to buy back the Hammer, launching humiliating fundraising schemes across Hyrule.Scene 6 · Hyrule Kakariko HideoutAfter days of failed fundraising, the crew tallies their pitiful earnings. Strike reveals that Evil Beefy has the Hammer and there's only one option left.Scene 7 · Serenity BridgeThe crew sets course for Evil Beefy's compound. The weight of what they've done — and what they're about to attempt — settles over them.